
Sapphire Ring Settings Compared: Prong, Bezel, Halo and Three-Stone
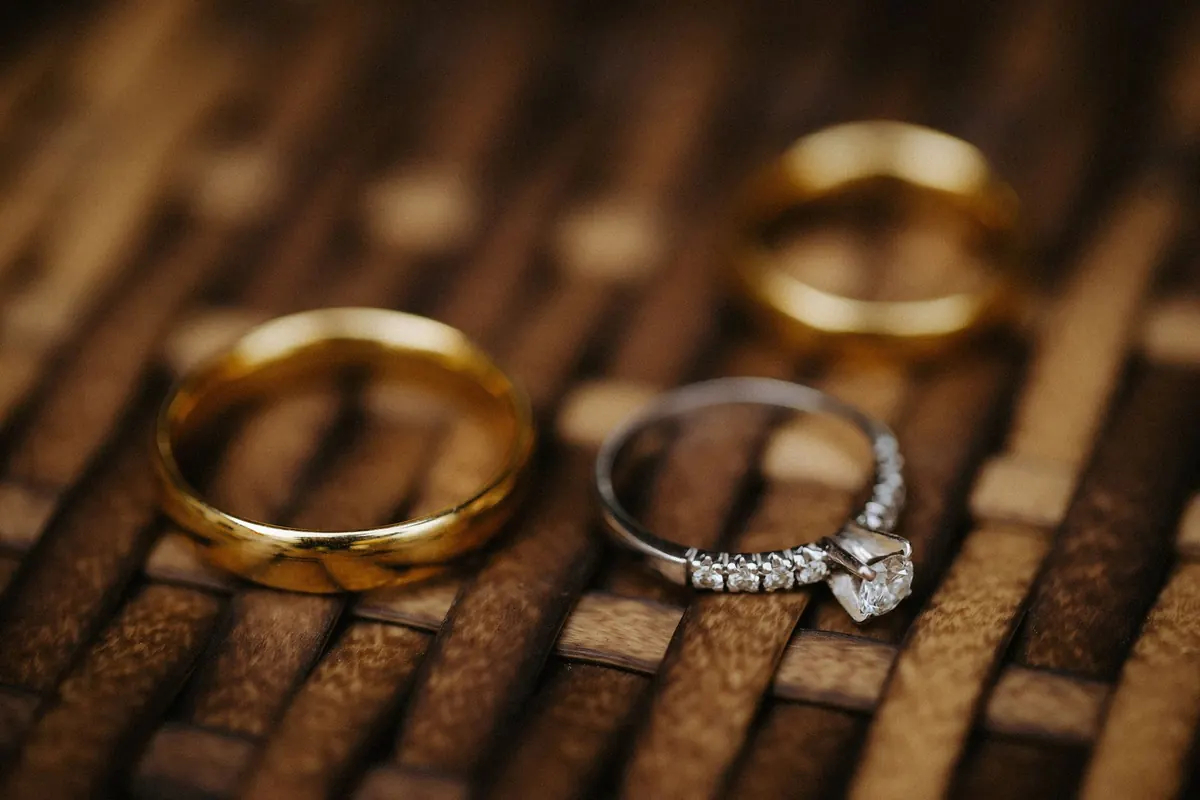
A sapphire ring is two decisions stacked on top of each other: the stone, and the way it is held. Most buyers spend months on the first and about ten minutes on the second. That is backwards, or at least lopsided. The setting decides how much light reaches the sapphire, how exposed it is to door frames and car keys, how the ring sits against your other hand, and how much of your budget goes into metal and labor instead of color.
Four settings do most of the work in the sapphire world: prong, bezel, halo and three-stone. Each is a different bargain. Here is how they compare, and how to tell which bargain suits you.
Prong Settings: The Classic Showcase
A prong setting holds the sapphire with four or six slim metal claws that curl over the edge of the stone. It is the oldest look in the book and still the most common, for good reason: very little metal touches the sapphire. Light enters from the sides as well as the top, which matters with a stone whose appeal is depth of color rather than a fountain of white sparkle. A well-cut blue sapphire in a four-prong solitaire reads rich and saturated; the same stone in a heavy setting can look flatter.
Prongs are also the easiest setting to live with over decades. A jeweler can re-tip worn claws, clean underneath the stone and resize the band without rebuilding anything. Ask for the ring to be checked once a year and you can wear it for a very long time.
The trade-off is exposure. The girdle — the thin edge of the sapphire — sits out in the open, and that is exactly where a hard knock tends to do damage. Sapphire is a 9 on the Mohs scale, but hardness means scratch resistance, not invincibility. Corundum has no cleavage, yet a sharp blow to an unprotected girdle can still chip it.
A few practical refinements: four prongs show more of the stone, six hold it more securely; for ovals, pears and marquise cuts, ask for a V-prong at any pointed end. And if you work with your hands, choose a low-profile prong setting rather than a tall one that catches on knitwear.
Bezel Settings: Armor for a Stone You Wear Daily
A bezel wraps a continuous rim of metal around the sapphire's edge. Nothing is left exposed. If you are a nurse, a cook, a potter, a gardener or someone who simply never takes their ring off, this is the setting built for you. A low bezel is arguably the least snag-prone ring you can put on a finger, and it protects the girdle completely — the part of the stone most likely to take damage.
The cost of that protection is a little light around the edges and a slightly more closed-in look. A bright, well-cut sapphire handles this without complaint. A very dark stone can look denser still in a bezel, so if your sapphire is on the inky side, consider a partial bezel or a thinner rim.
Expect to pay more than for a simple prong setting. Bezels use more metal and demand more skill at the bench, and resizing is fussier because the rim has to be reworked rather than simply stretched or cut. Not every jeweler is comfortable with it, so ask who will do the work before you commit.
Visually, bezels suit round, oval and cushion sapphires beautifully. The clean line of metal around the stone gives a modern, almost architectural feel, and it pairs well with a plain or slightly knife-edged band.
Halo Settings: More Sparkle, More Presence
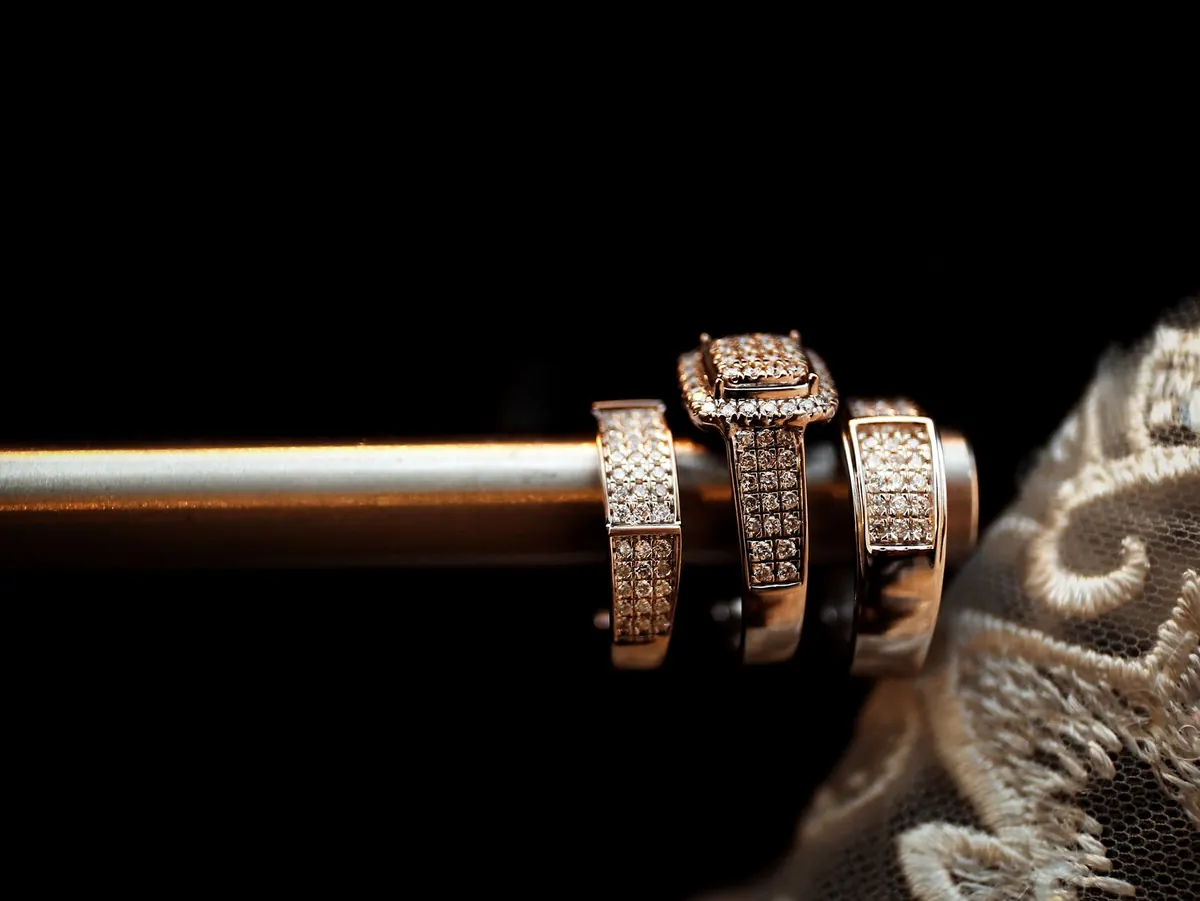
A halo is a ring of small stones circling the center sapphire — usually diamonds, sometimes paler sapphires or a contrasting color. Its main job is optical: a one-carat sapphire in a halo reads closer to a carat and a half, spreading the visual footprint across more of the finger. The secondary job is contrast. Tiny white diamonds around a deep blue stone make the blue look bluer.
Halos are also where budgets quietly grow. You are paying for small stones, for setting each one, and for the labor of matching them. There is more to clean, and small stones can loosen over years of wear, so an annual check becomes more than a formality.
Two practical notes. First, halos sit wide, so try the ring on with the band you plan to wear next to it — a curved wedding band often fits better than a straight one. Second, watch the height. A tall halo with a pronounced edge is the most snag-prone of the four settings; a low-set halo, or a hidden halo tucked under the gallery, keeps the sparkle without the sweater snags.
Three-Stone Settings: A Story in Three Parts
A three-stone ring puts the sapphire at the center with a smaller stone on each side. The tradition behind it — past, present, future — is sentimental, but the design case is strong on its own. Side stones widen the ring visually, add sparkle from across a room, and give the sapphire a deliberate stage.
Side-stone shape changes the whole character of the piece. Tapered baguette diamonds give a streamlined, Deco-ish line. Trillions or pears soften it. Small round diamonds are the most classic and the most forgiving if you plan to wear the ring every day. You can also flank the sapphire with two smaller sapphires for a monochrome look, or with rubies for contrast.
Orientation matters more than people expect. Setting the three stones across the finger makes the ring look wider and bolder; setting them along the finger elongates the hand. Three-stone rings are typically the widest of the four options, so check how the ring feels between your fingers before you fall for it.
Which Setting Flatters Which Hand
There is no universal rule, but proportions do most of the work. Bring a friend, try on more than you think you need to, and look at your hand in a mirror rather than straight down at it.
- Long fingers: You can carry width. Wide bands, emerald cuts, generous halos and horizontal three-stone settings all look at home rather than overpowering.
- Shorter fingers: Keep the band slim and let shape do the elongating. Ovals, pears and marquise cuts in a prong or low bezel setting stretch the line of the finger; a wide halo can cut it short.
- Wider fingers or larger knuckles: A band of roughly 4–5mm reads more proportionally than a very thin one, and a slightly larger center stone balances the hand.
- Prominent knuckles: Make sure the ring clears the knuckle comfortably. Tall halos and high prong settings are harder to slide on and off.
The Money and the Maintenance
As a rough ranking, a simple prong solitaire is usually the least expensive way to set a sapphire, since it uses the least metal and the simplest bench work. A bezel often costs more than people expect because of metal weight and labor. A halo adds the cost of many small stones plus the time to set them, and a three-stone adds two more stones to the bill. None of this changes what the sapphire itself costs, which depends on color, clarity, cut, size and treatment.
Whichever you choose, clean the ring with warm water, a drop of dish soap and a soft brush, and rinse over a bowl rather than the open drain. Skip ultrasonic cleaners for any sapphire that may be fracture-filled; if you are unsure of the treatment, ask before you clean. Have the setting checked once a year, and insure the finished ring against loss and damage rather than assuming a homeowner's policy covers it — a quick call to your insurer will settle that.
A Short Checklist Before You Decide
- Describe your week honestly: how many hours are your hands in water, soil, machinery or gym equipment?
- Decide whether the sapphire should be the star (prong, bezel) or part of a composition (halo, three-stone).
- Try on your top two with the band you will actually wear beside them.
- Ask who will resize and re-tip the ring in five years, and whether they are local.
- Choose the lowest setting that still gives you the look you want.
A sapphire will outlast most of the things around it. Give it a holder that matches the way you live, and the ring stops being a fragile object you worry about and becomes the thing you reach for every morning.
Photo: Kenneth Surillo / Pexels